The WatchKit Framework’s WKInterfacePicker has some level of customization in Interface Builder.
As of this time of writing, there are 4 main attributes to configure:
- Style
- Focus
- Indicator
- Enabled
Style is the most important attribute since it heavily influences the type of Picker. The options for Style are List, Stack, and Sequence. List is the standard iOS-style 3d list of text. Stack allows you to flip through images as if it were a deck of cards. Sequence lets you move between images without any intermediate transition effect. For a good look, I’d recommend Big Nerd Ranch’s blog post.
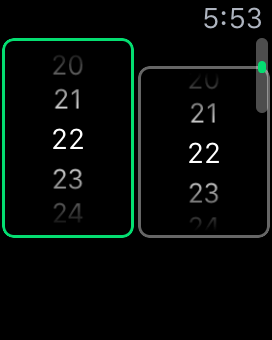
Focus presents an outline around the currently focused/selected Picker. This is helpful if you have multiple WatchKit pickers or multiple elements for selection (think “Customize” for your watch face). The options are None, Outline, and Outline with Caption. The last option, “Outline with Caption”, comes into effect if your Style is Stack (or possibly Sequence), see an example here.
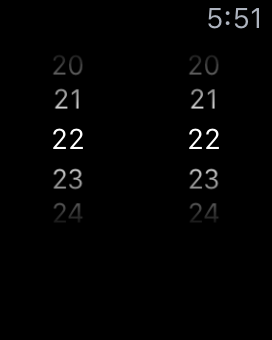
Plain, without focus
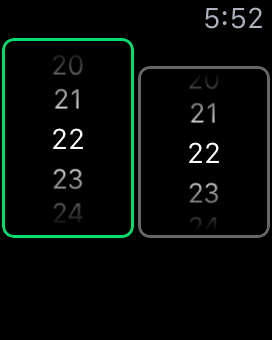
Left picker is focused
Indicator has two options: Disabled or Shown While Focused. The documentation wasn’t very clear: “A value indicating whether the picker uses an indicator to convey context about the number of picker items and which item is selected.” As far as I can tell, Disabled means the standard look, and the “Shown While Focused” adds a scroll bar helper on the right side of the watch.
Indicator – Shown While Focused
Enabled is a helpful option that is either on or off. Enabling it or not doesn’t affect the view. When the picker is enabled, it allows the user to use the picker. This attribute can be set or unset programmatically with -setEnabled.
Hopefully this quick explanation of the different WKInterfacePicker attributes helps you out. The digital crown (AKA dial) & the WKInterfacePicker provides an extremely powerful, convenient input method for your watch app users.